How to install a two-piece toilet | Installation Guide
How-To
Installing a two piece toilet all by yourself is a challenging task. But, with the right tools and materials, you will be able to overcome all the troubles if you follow the right guideline. This Installation guide includes 6 tools and materials, and are divided into 12 steps. If you find yourself in any troubles, please consult a professional plumber. Good Luck.
2022-6-13 - Posted By Jason
How to install a s-trap floor-outlet two piece toilet in 12 steps.
Before you start:
We recommend consulting a professional if you are unfamiliar with installing bathroom fixtures and/or plumbing.
For the following installation instructions for your new toilet, it is assumed that any old fixtures have been removed and any repairs to the water supply and/or toilet flange have been completed.
Tools and Materials:
- Latex Caulk
- Hacksaw
- Adjustable Wrench
- Shim
- Level
- Tile Grout


Steps:
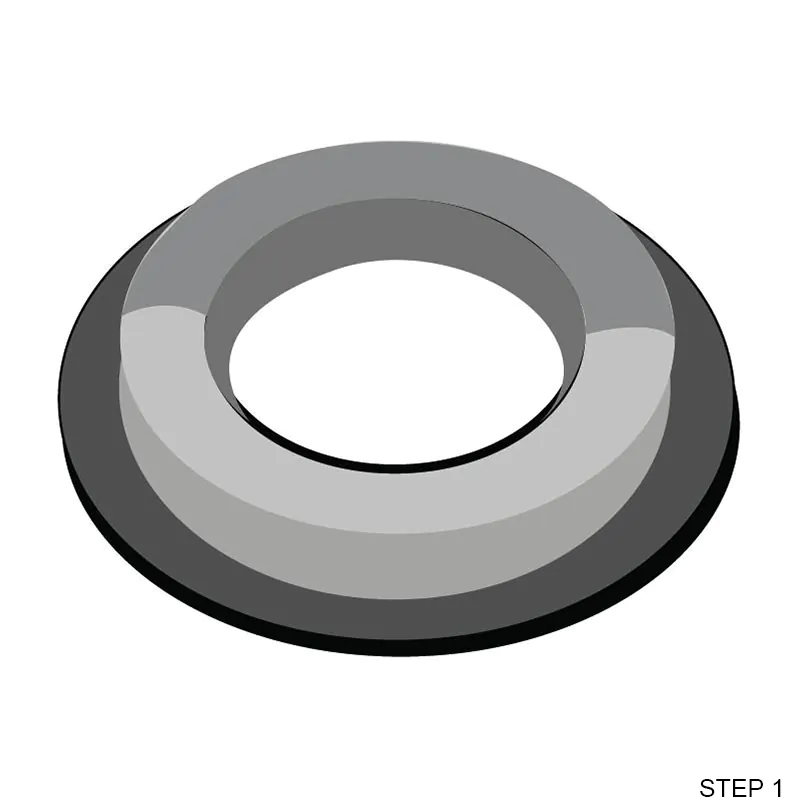
Step 1. Install a new wax ring
Most new toilets come with a wax ring, but it's always a good idea to check. Open the new wax ring and place it on the center of the flange. Make sure to have the flat side down and the tapered edge up. Apply enough pressure to hold the ring in place during installation.
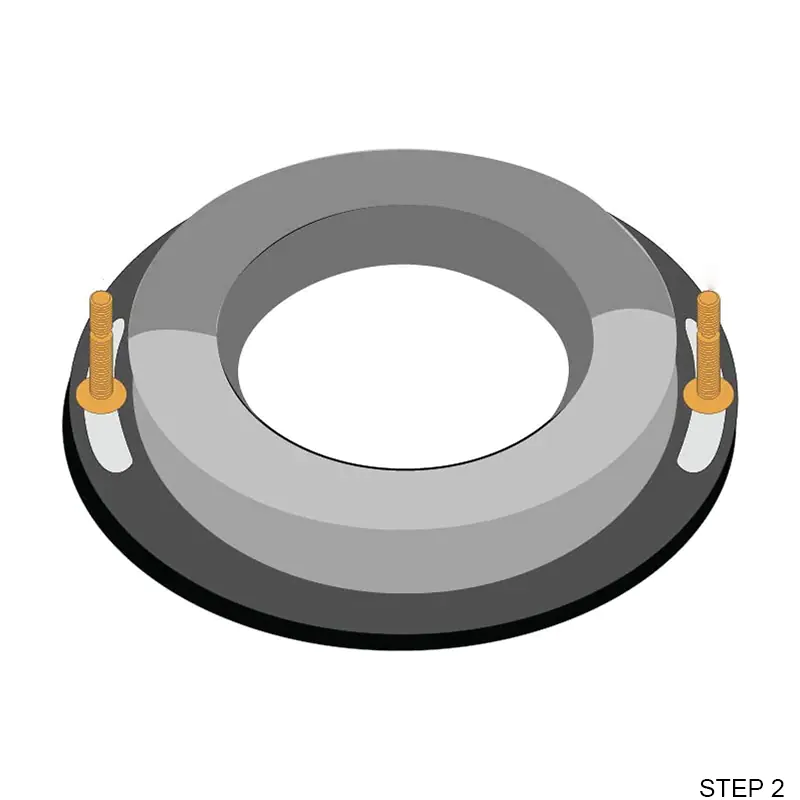
Step 2. Install the anchor bolts
Install the new anchor bolts through the toilet flange. The anchor bolts should be pointing upwards so that when the toilet is placed the bolts will project through the mounting holes on the base of the toilet. Just be careful not to move or tilt the toilet because you could break the wax seal, which would mean leaks. Not good.
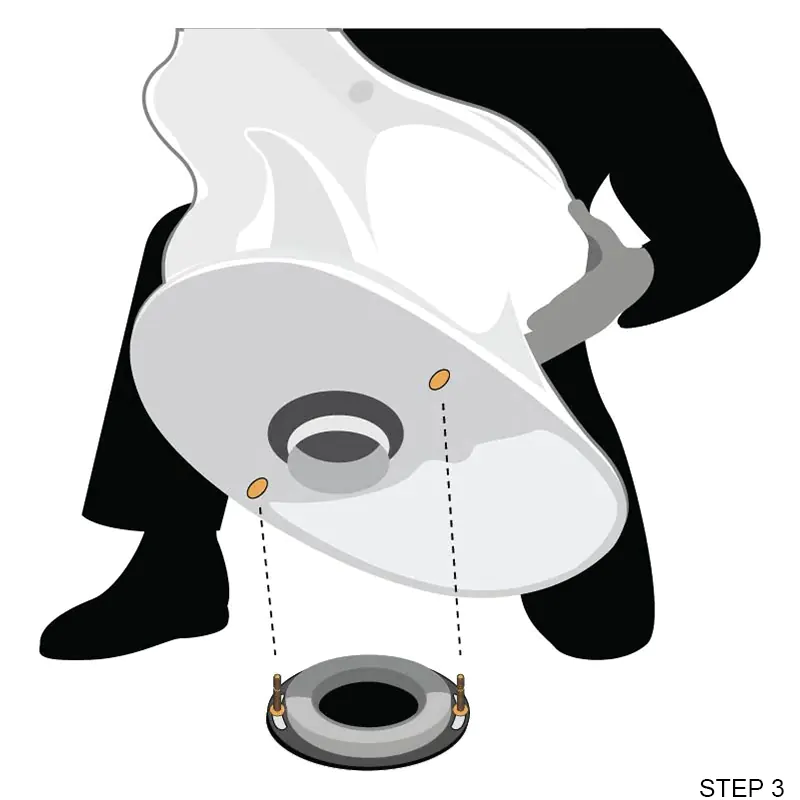
Step 3. Install the bowl
When the wax ring and bolts are attached, carefully lift up the new toilet bowl and set it down directly to align the mounting holes with the anchor bolts on the floor for proper placement.
- It can help to have another person lifting the toilet or guiding it onto the bolts.
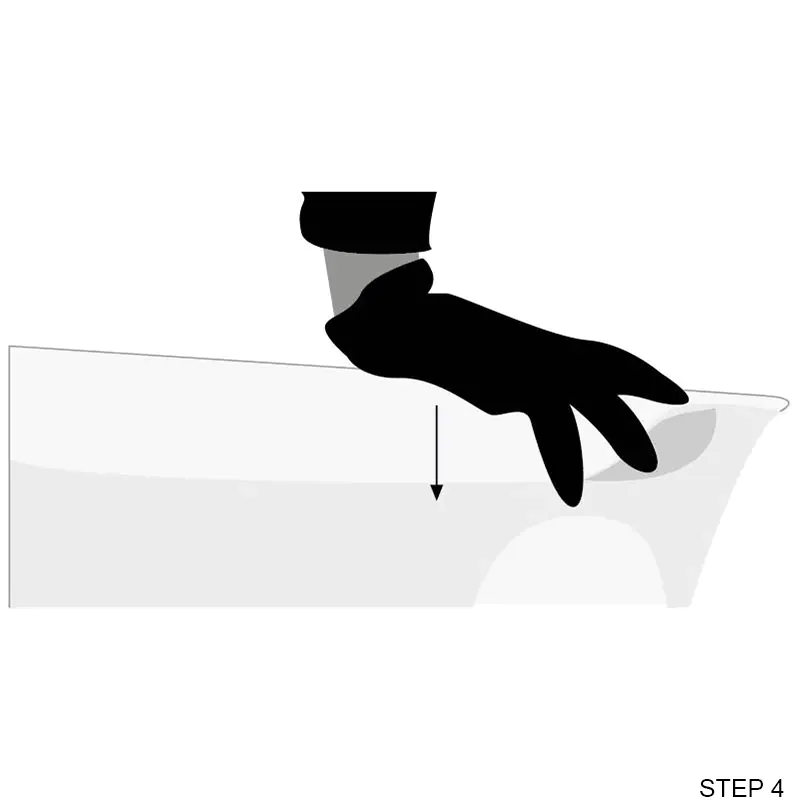
Step 4. Press hard to seal
Set the toilet down on the floor and press in place to form a tight seal with the wax ring. Do not move the toilet after placement, this could break the watertight seal and cause leakage.
- IMPORTANT : Once you've pressed the toilet to the wax ring, don't remove the toilet again or you'll break the seal.
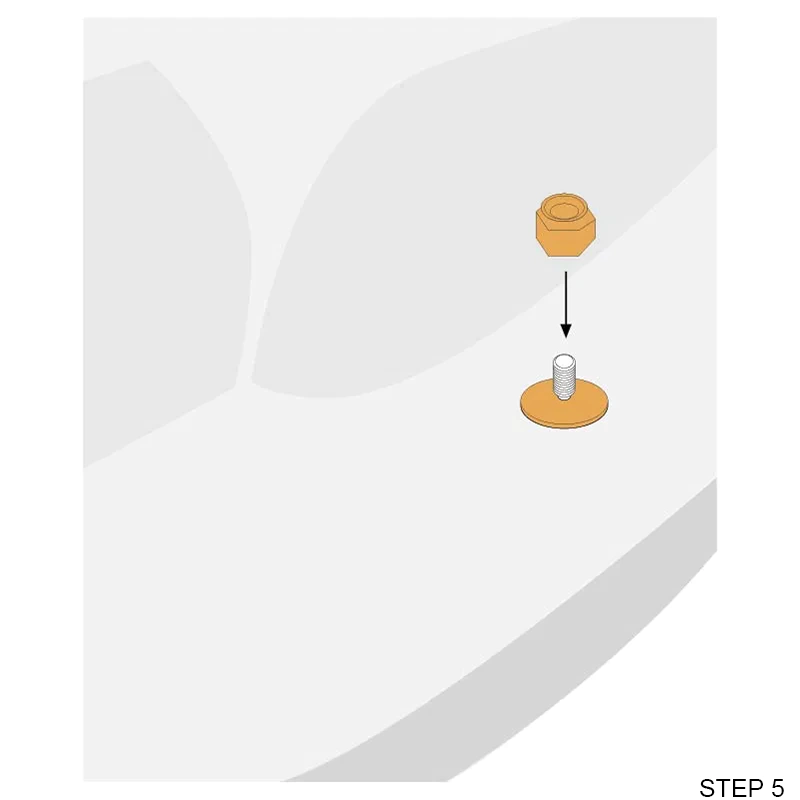
Step 5. Install washers and nuts
Thread the washers and nuts onto the anchor bolts.
Installation Tip: Before tightening washers and nuts, verify that your toilet is level. If the toilet is not level place a shim under the base of the toilet and adjust as necessary.
Installation Tip: Before tightening washers and nuts, verify that your toilet is level. If the toilet is not level place a shim under the base of the toilet and adjust as necessary.
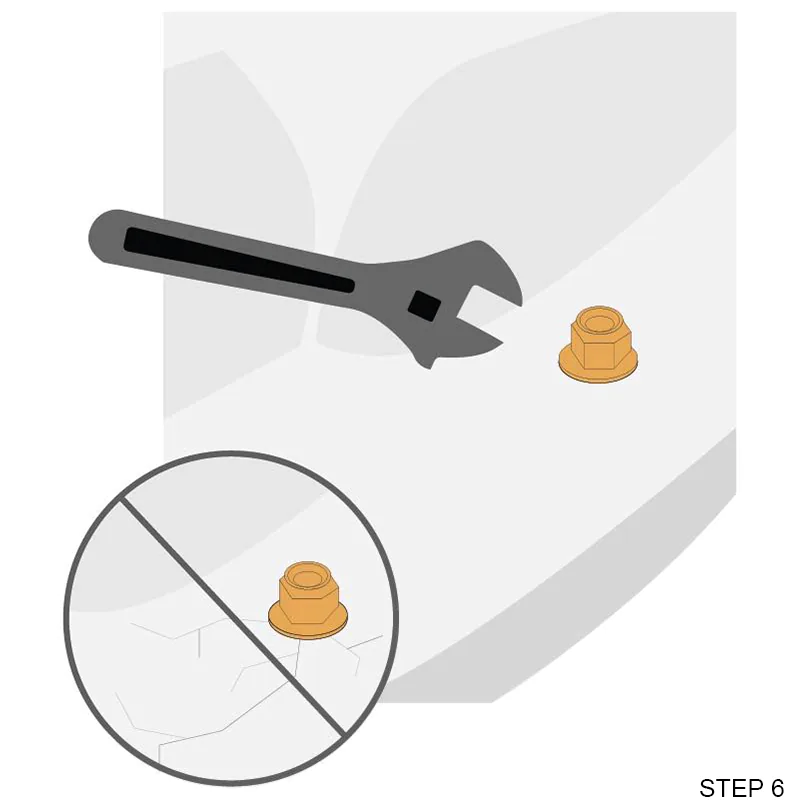
Step 6. Tighten up bolts
When toilet is properly aligned, finish tightening the washers and nuts onto the anchor bolts with your adjustable wrench. Do this gradually, alternating from one bolt to the other until both are tight. Be sure not to overtighten as this could cause cracks and damage the base of your toilet.
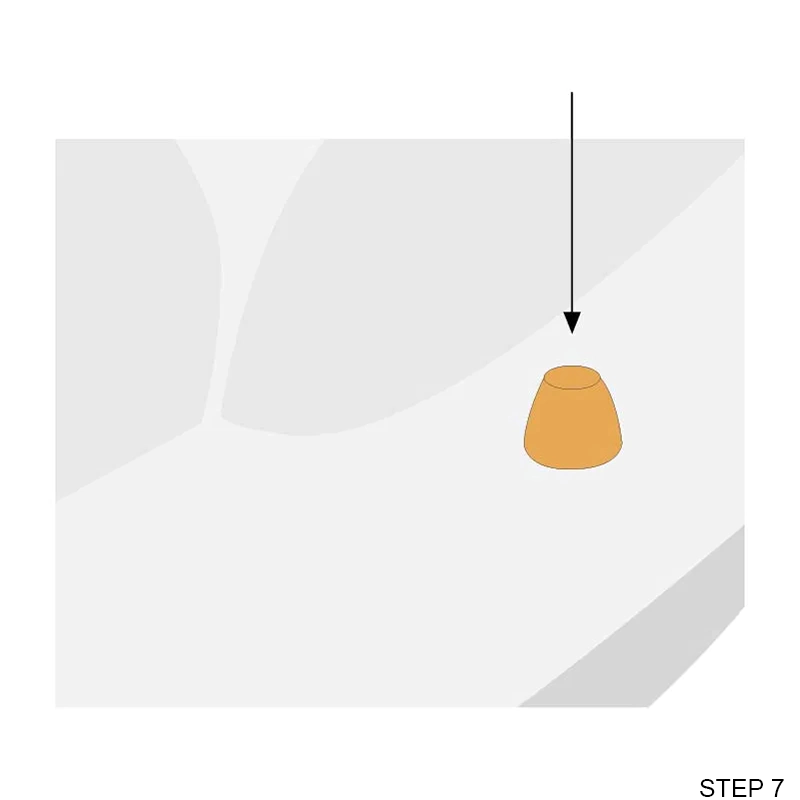
Step 7. Install bolt caps
Place bolt caps over the anchor bolts on the base of the toilet.
Installation Tip: If the anchor bolts extend too far over the top of the washers and nuts, use a hacksaw to trim to the correct length.
Installation Tip: If the anchor bolts extend too far over the top of the washers and nuts, use a hacksaw to trim to the correct length.
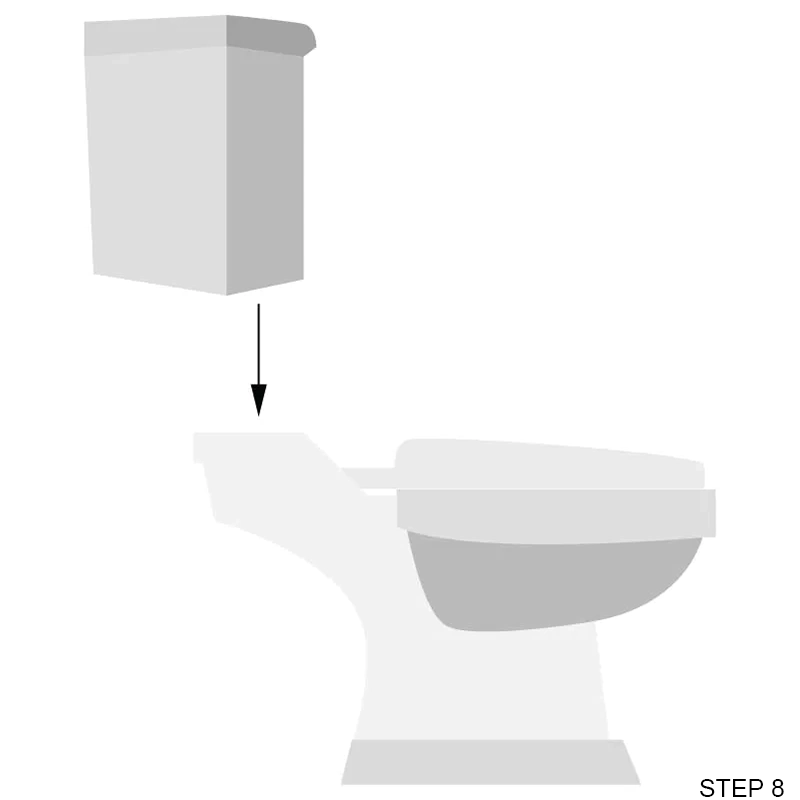
Step 8. Install toilet tank bolts
Place the gasket on the tank and slide the tank bolts through the mounting holes on the top of the base of the toilet.
- Sometimes, tanks come pre-assembled, so you may not need to do this step.
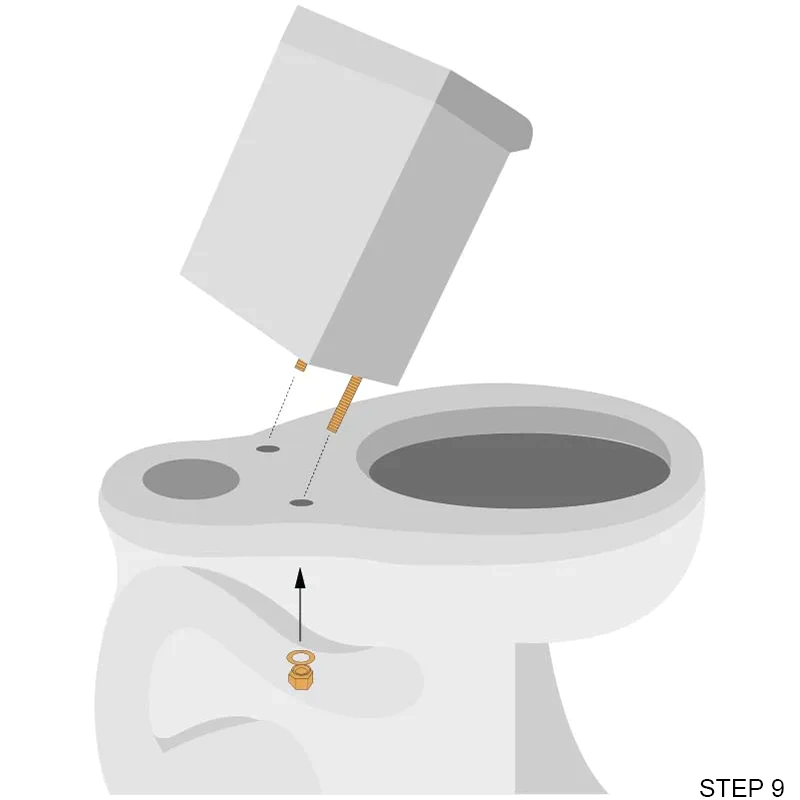
Step 9. Install the tank
Thread washers and nuts onto the tank bolts. Verify that the tank is level and alternately tighten the washers and nuts until the tank is resting firmly on the bowl.
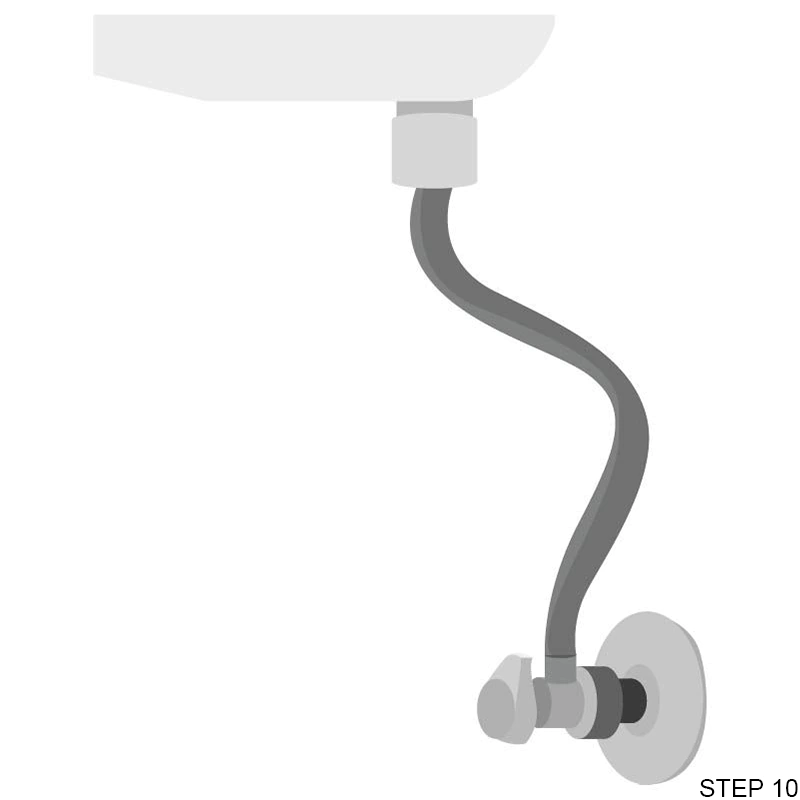
Step 10. Install a new water supply line
Connect the water supply tubes at the bottom of the tank. Turn on the water supply and flush the toilet several times to check for any leaks around the back or base.
- You can buy braided water supply lines from hardware stores or online. They sell a variety of lengths, so you're sure to find one that will fit your toilet.
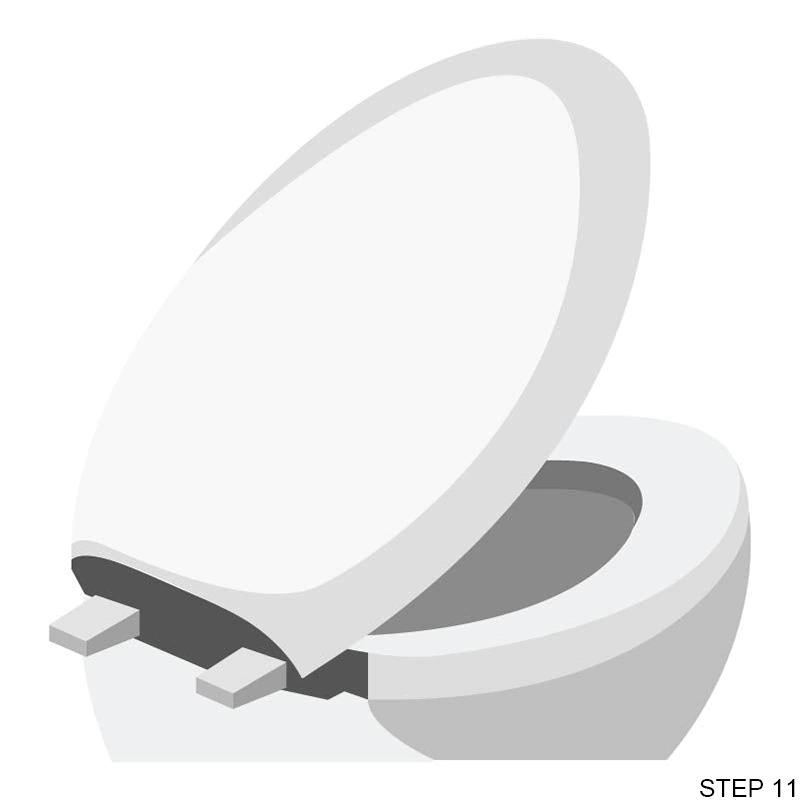
Step 11. Install the toilet seat
Attach the toilet seat by placing it on top of the bowl and securing it in place with supplied bolts.
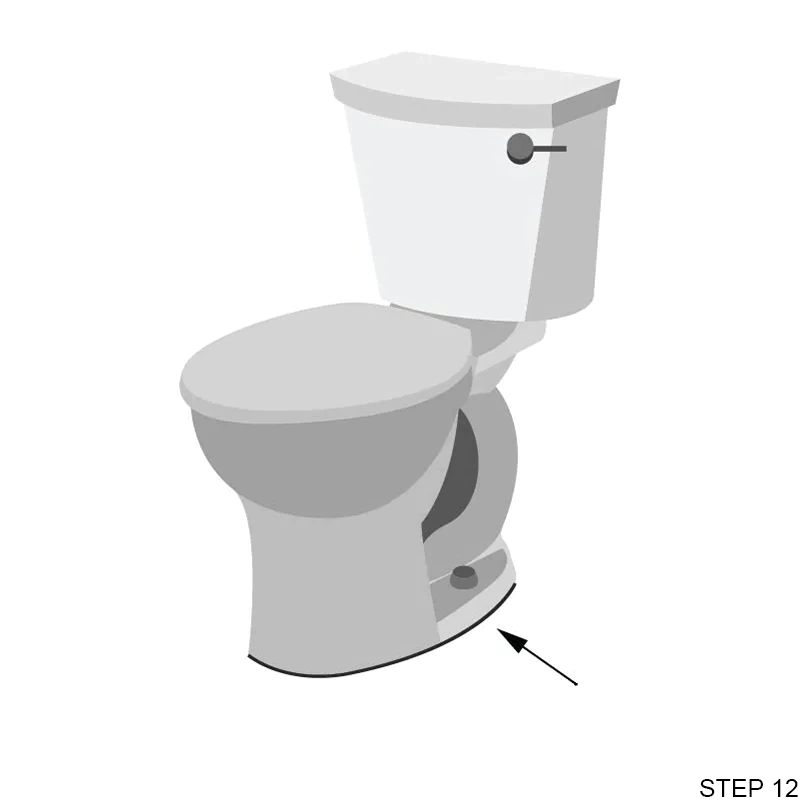
Step 12. Apply Caulk
Finish your installation by applying latex caulk or tile grout around the base of the toilet. This will finish the joint between your floor and toilet bowl and divert water away from the base of the toilet.


